
How to Make a Resume, Step by Step (With Examples)
Eight practical steps from gathering your material to sending the PDF — what to write in each section, what to leave out, and how to check your resume before it goes out.

Good resumes are rarely written in one inspired sitting. They're written in order: you collect your material, fill in the sections in the right sequence, and then you check. This guide walks through exactly that process, in the same order you'd do it in the Mycv.ge editor.
If you prepare your material first, the whole thing takes about 30–40 minutes.
Step 0. Before you write anything, gather your material
The most common reason a resume ends up vague is that people try to remember things while writing. Instead, jot these down first:
- The job ad you're applying to. Read it and highlight the 5–6 requirements or skills that come up more than once.
- Every job from the last 10 years: title, company, city, start and end month and year.
- 3–5 things you're proud of in each job: what you improved, introduced or fixed, and how many people or customers your work touched.
- Education, courses, certificates, and the languages you can actually work in.
Tip: If you can't remember exact dates, check an old employment contract, your LinkedIn, or the bank statement where your salary payments start. Wrong dates lead to the most awkward questions at an interview.
Step 1. Open the editor
Open the editor. You don't need an account to start — your work is saved on your device, and you only sign in when you download the PDF.
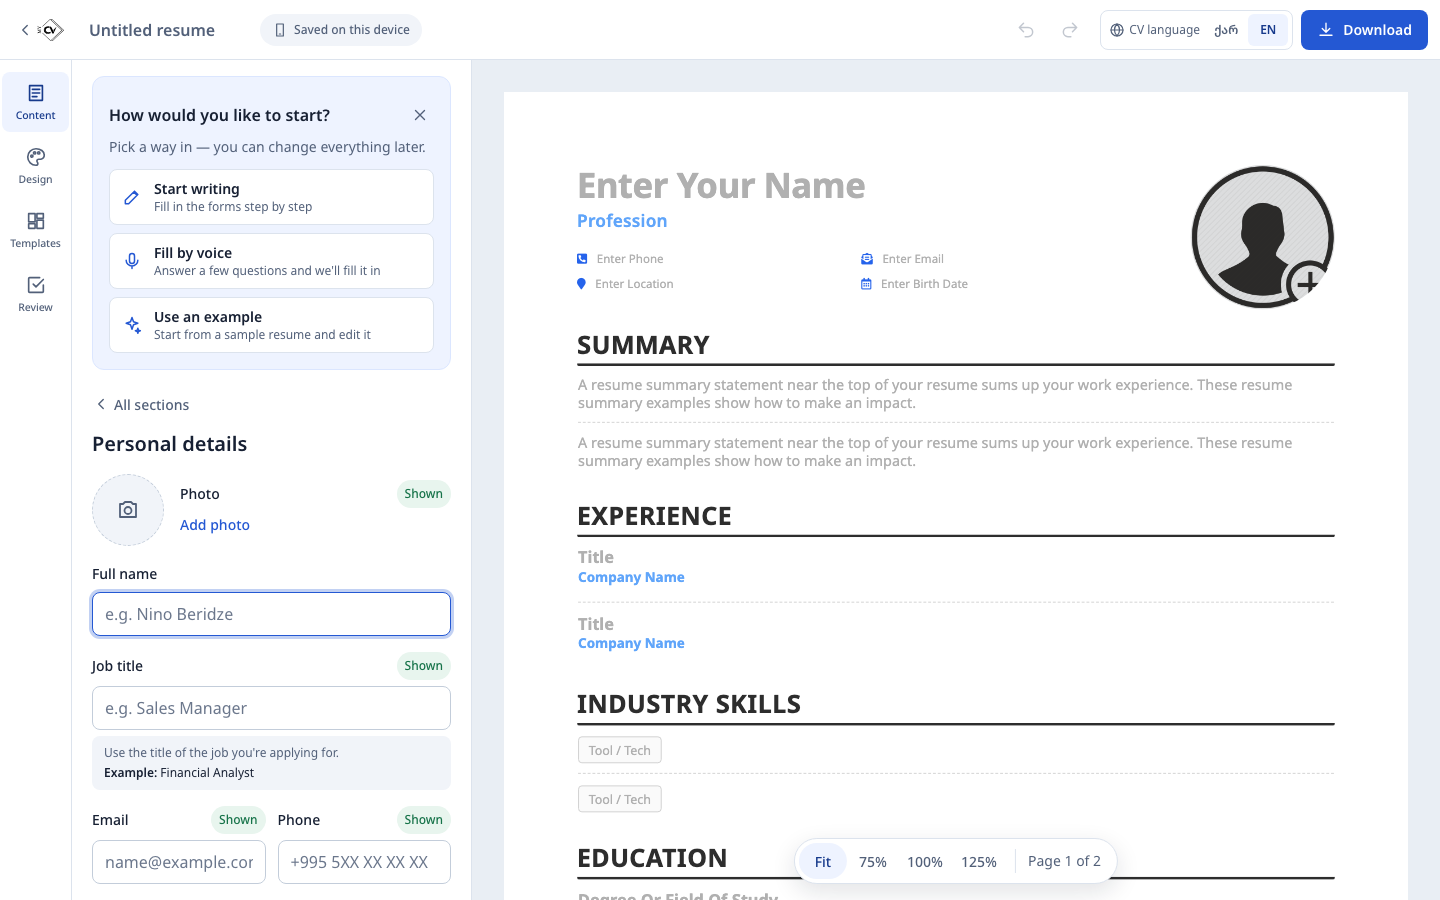
You have three ways in: Start writing, Fill by voice (answer a few questions and the text is written for you), or Use an example. If this is your first resume, starting from the example is the fastest way: you see what each section should look like and just replace the text.
Step 2. Personal details
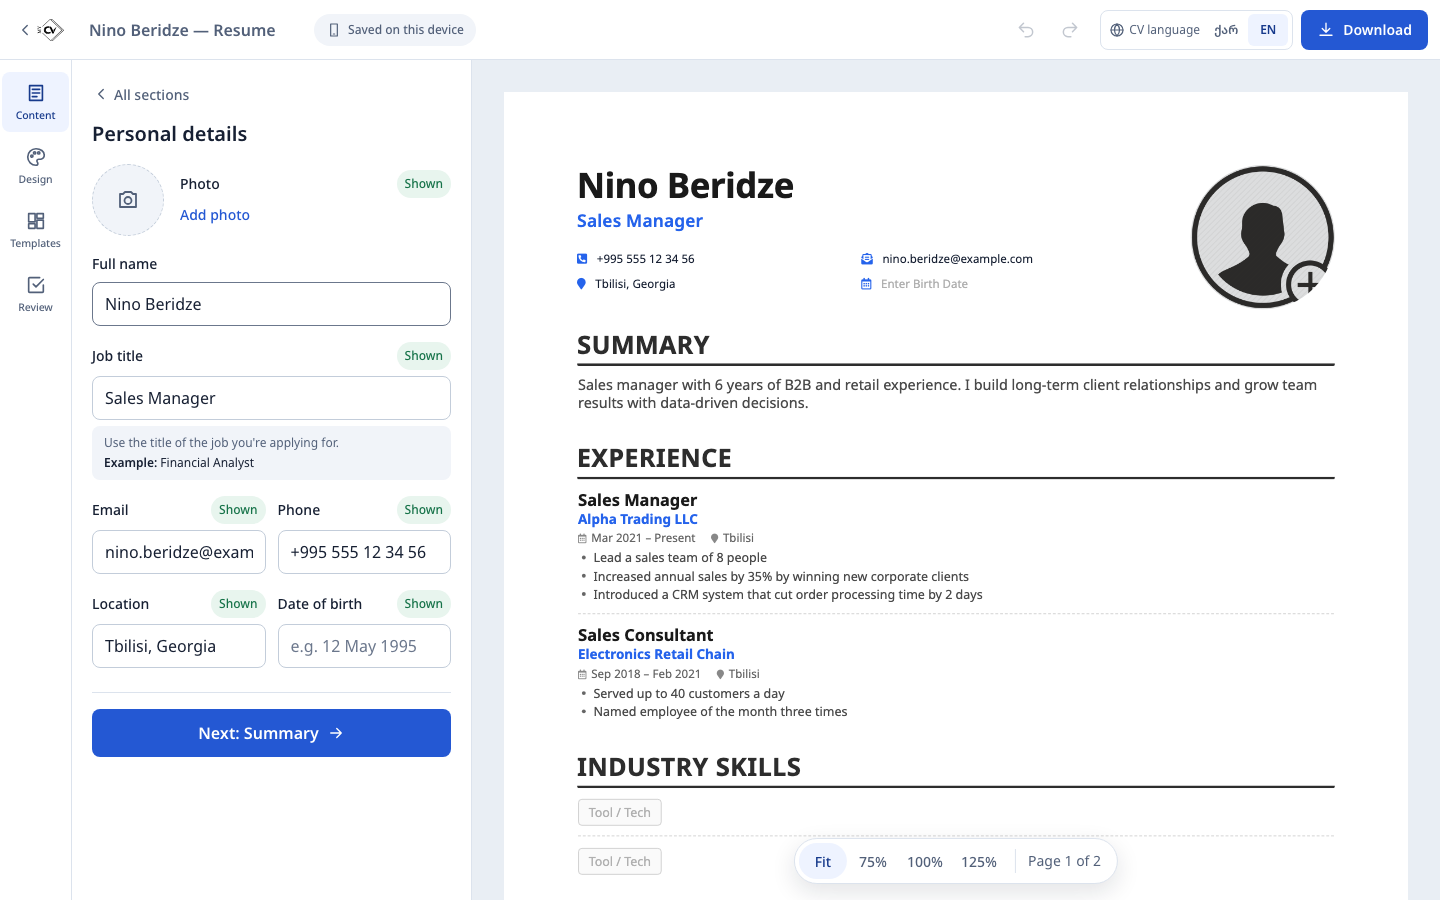
There isn't much thinking involved here, but this is where many small mistakes happen.
Include:
- Full name, exactly as on your documents.
- Job title — the role you're applying for, not the one you had years ago. If the ad says "Sales Manager", write "Sales Manager", not "Specialist".
- Phone in full international format: +995 5XX XX XX XX.
- Email built from your name.
nino.beridze@…reads far better thanprincess_1998@…. - City — "Tbilisi" is enough; no need for a full street address.
Leave out: ID numbers, marital status, religion, passport details. Employers don't need these to judge your resume.
Photo and date of birth are common on Georgian resumes but never required. If you add a photo, pick a calm, well-lit picture on a plain background with just you in it. For international companies it's usually better to hide both — each field has a toggle for exactly that.
Step 3. A short summary (2–3 sentences)
This is the first text a recruiter reads, and it has one job: answer why should I keep reading?
A simple formula:
- Who you are and how many years of experience you have;
- What you're strongest at (specifically);
- One result, or what you're looking to do next.
Responsible, communicative and hard-working person looking for an interesting job.
Sales manager with 6 years of B2B experience. I lead a team of 8 and work with corporate clients; last year the team grew annual sales by 35%.
The first could describe anyone. The second describes one person.
Step 4. Work experience — the part that matters most
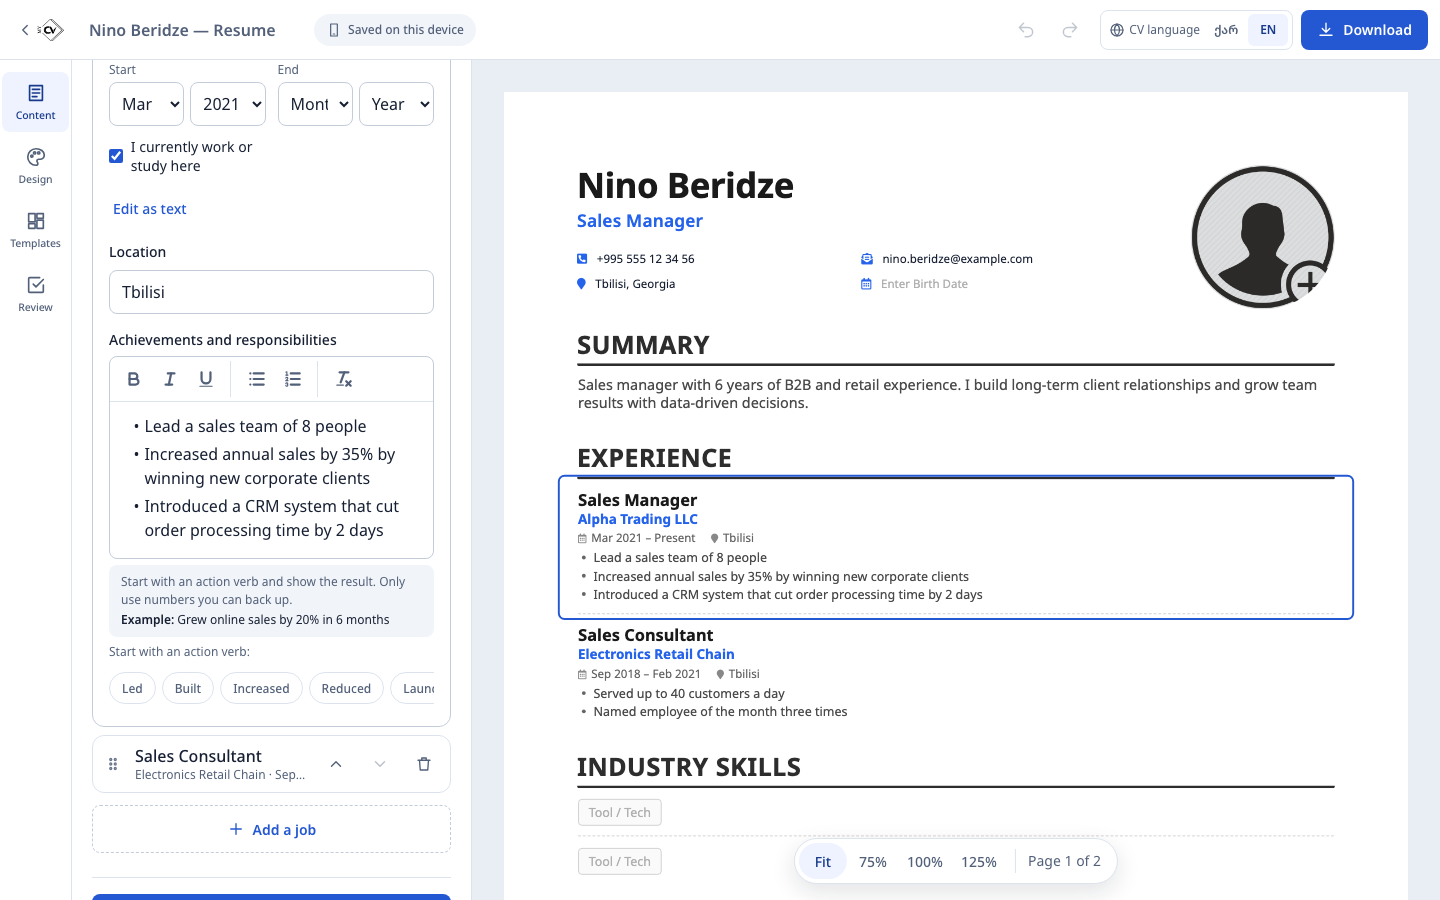
Rules that work in almost every case:
- Reverse chronological order — most recent job first.
- For each job: title, company, period (month and year), city.
- Under it, 3–5 bullet points: more for the recent, relevant job, fewer for old ones.
- Start every bullet with an action verb: "Led", "Built", "Reduced", "Introduced". The editor offers these as chips — click one and it's inserted.
Bullet formula: what you did + how + what changed as a result.
Worked with customers.
Served up to 40 customers a day; named employee of the month three times.
Handled paperwork.
Moved paper invoices into the accounting system, cutting order processing time by 2 days.
Important: Only write numbers you can back up. At the interview someone will ask "how did you measure that 35%?" If you don't have an exact figure, describe the scale instead: how many customers, projects or colleagues your work involved.
For more examples, read How to describe work experience on a resume.
Step 5. Education
- If you're a student or a recent graduate, move Education above Experience (use the arrows or drag it in the section list).
- Include the degree and field, the university and the years.
- Skip your school if you have a university degree.
- A strong GPA, a scholarship or a relevant thesis deserves one bullet.
Step 6. Skills and languages
This is where the keywords you highlighted in the job ad come back — as long as you really have those skills.
- Be specific: "Excel (pivot tables, VLOOKUP)" beats "computer skills".
- 6–10 skills is plenty. A list of 25 says nothing.
- Rate your languages honestly. If you write "fluent", be ready for part of the interview in that language.
Step 7. Template and design
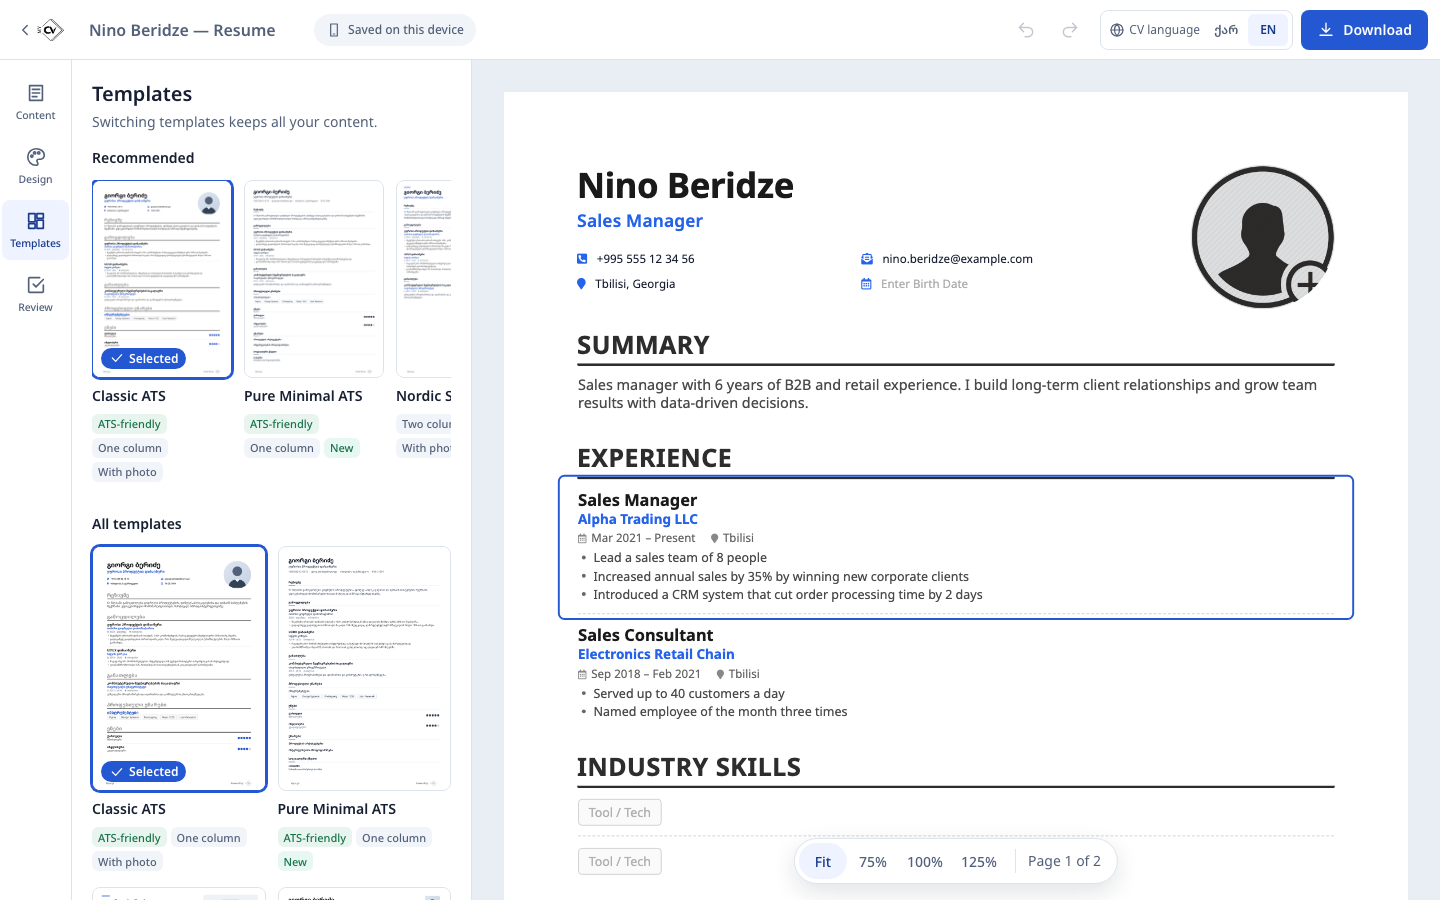
- Banks, insurers and large companies often use applicant tracking systems (ATS). A calm, one-column template works best there; those are marked "ATS-friendly".
- For creative roles (design, marketing) a two-column, more colourful template is fine.
- Length: under 5 years of experience — 1 page; more than that — 2 pages at most. The page count is shown at the bottom of the editor.
- Pick one accent colour. Five colours don't make a resume prettier, just harder to read.
Step 8. Check, download and send
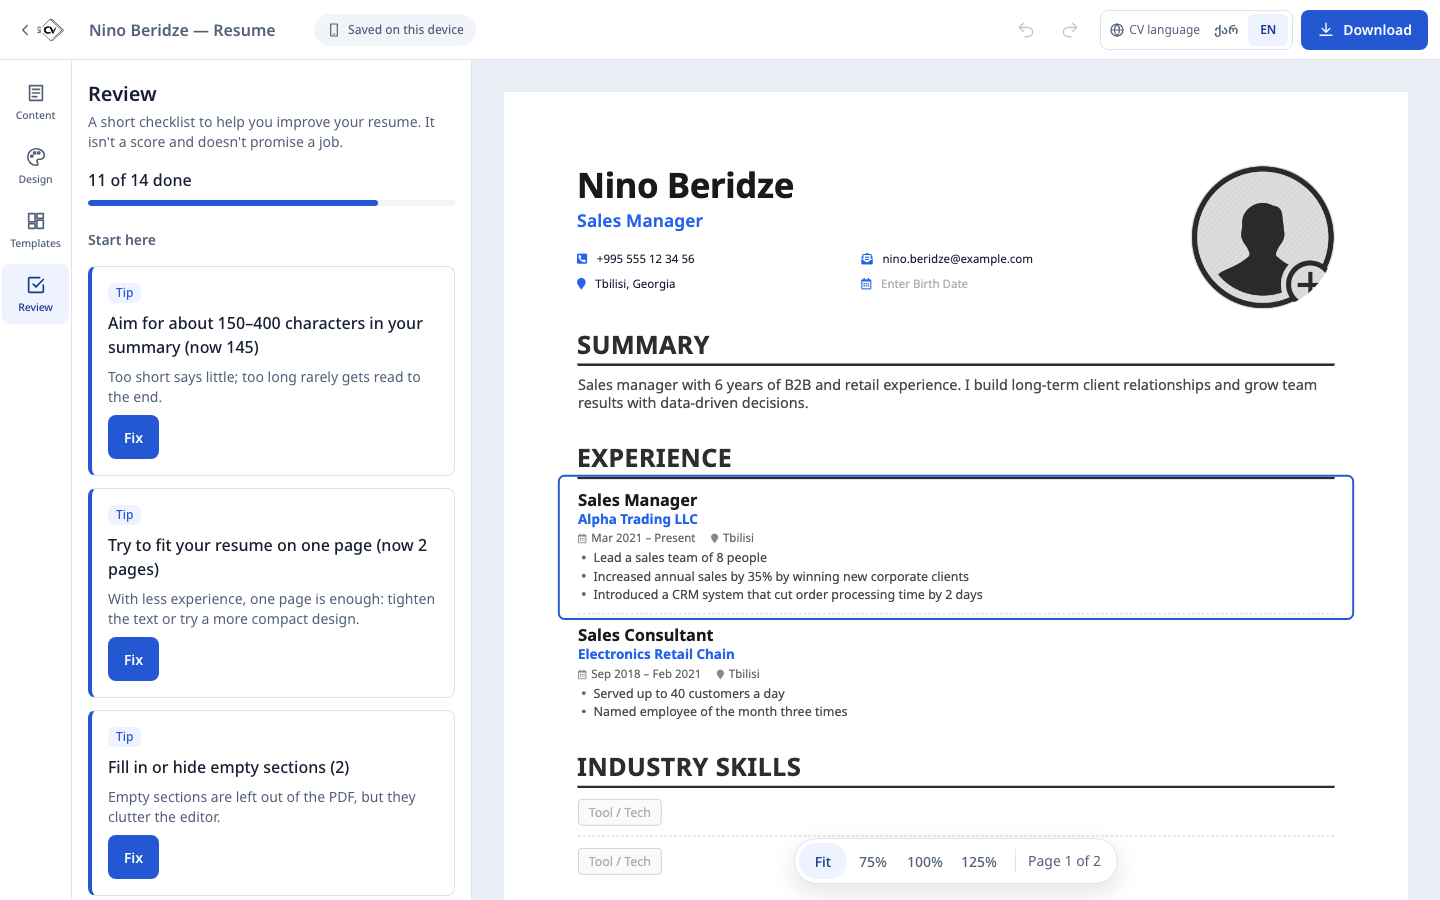
Before you send it:
- Open Review and go through the suggestions it lists.
- Read it out loud. It's the easiest way to catch clumsy sentences and missing words.
- Make sure all dates use the same format (e.g. "Mar 2021 – Present").
- Ask someone to look at it for 30 seconds and tell you what they remember. If it's not the most important thing, move that higher up.
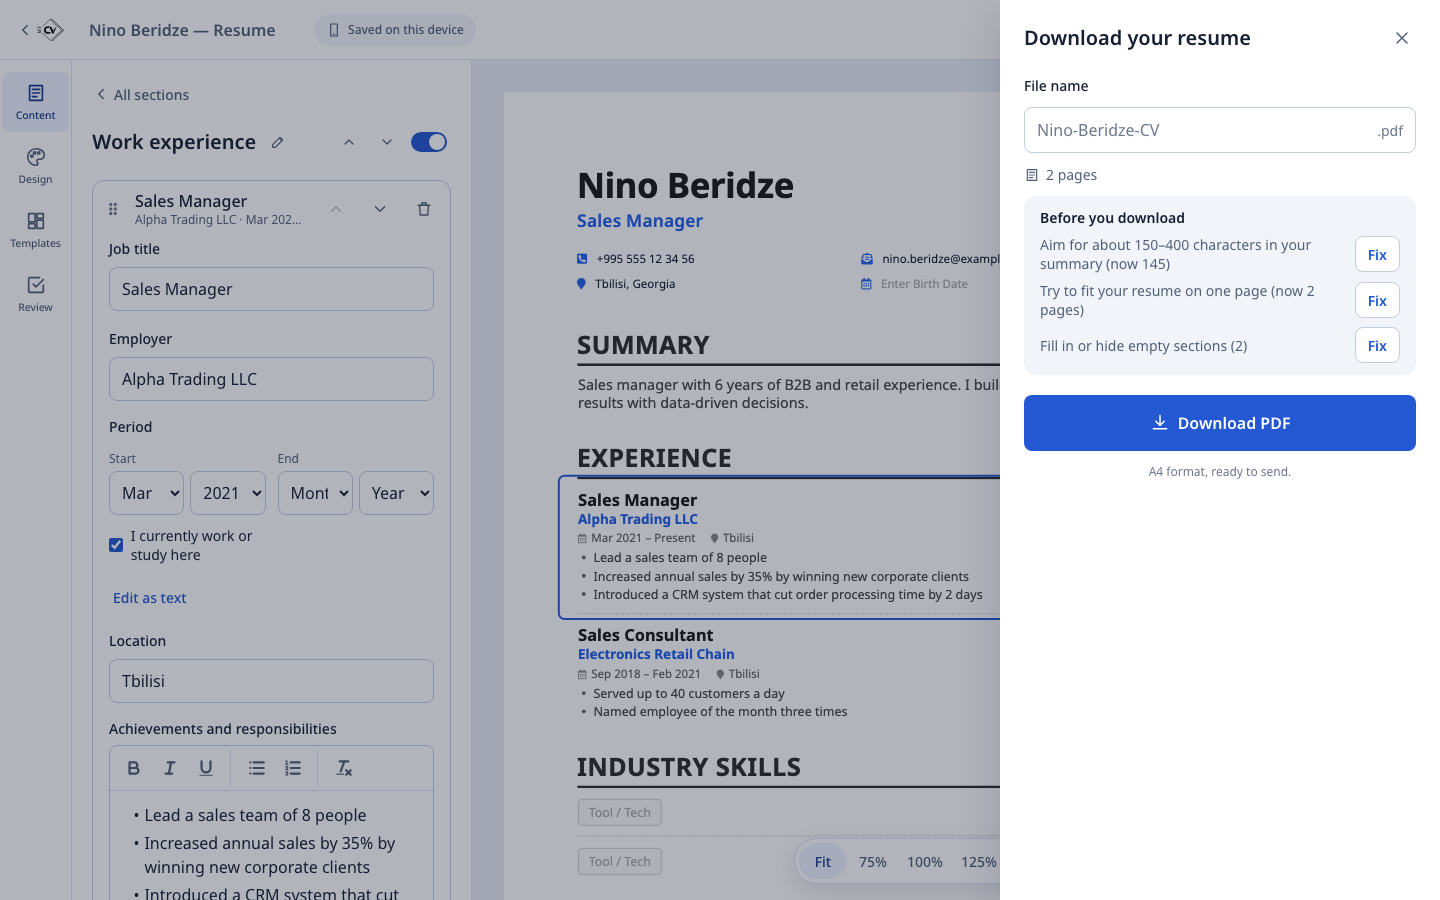
Download it as a PDF and give the file a clear name: Nino-Beridze-CV.pdf, not CV final (2) new.pdf.
When you email it, put the role in the subject line ("Application: Sales Manager — Nino Beridze") and write 3–4 sentences in the body: who you are, why this role interests you, and that your resume is attached.
In short
- Gather your material first, then write.
- The top of the page — name, title, summary — matters most.
- Describe achievements, not duties; only use numbers that are real.
- One or two pages, one colour, PDF.
- Tailor the job title, summary and skills to each application.
More articles
 Documents
How to Write a Cover Letter (With an Example)
A cover letter that gets read: the four-part structure, a full example, phrases you can reuse, a version for internships and first jobs, and the mistakes recruiters notice first.18 November 2026 · 7 min read Resume writing